

Mastering Ebru Marbling: A Unique Art Form - Ebru Art Techniques Workshop

Ebru marbling is a traditional art form that creates beautiful, swirling patterns on paper. It uses water, pigments, and special tools to produce unique designs. This art has a rich history and remains popular today. I will guide you through the basics and share practical tips to help you start your own ebru journey.
Discover Ebru Art Techniques Workshop
Ebru art techniques workshop offers hands-on experience. You learn how to prepare the water, mix pigments, and apply them to create patterns. The workshop teaches you to control the flow of colors and shapes. You also get to practice different tools like combs and brushes.
In the workshop, you will:
Prepare the marbling tray with water and a thickening agent.
Mix natural pigments with ox gall to help them float.
Drop colors carefully on the water surface.
Use tools to shape and manipulate the colors.
Transfer the design onto paper.
This process requires patience and practice. The workshop provides a supportive environment to experiment and improve. You can also ask questions and get feedback from experienced artists.

What is the difference between ebru and Suminagashi?
Ebru and Suminagashi are both marbling techniques but come from different cultures and use different methods.
Ebru originates from Turkey. It uses thickened water (called size) and pigments mixed with ox gall. Artists apply colors with brushes and manipulate them with combs or sticks.
Suminagashi is Japanese. It uses plain water and ink. The ink spreads naturally on the water surface without thickening agents. Artists blow or flick the ink to create patterns.
Ebru patterns tend to be more controlled and vibrant. Suminagashi patterns are more fluid and subtle. Both require skill but offer different artistic experiences.
Tools and Materials You Need for Ebru Marbling
To start ebru marbling, gather these basic materials:
Marbling tray - A shallow tray large enough to hold your paper.
Water - Clean and room temperature.
Size - A thickening agent like carrageenan or gum tragacanth mixed with water.
Pigments - Natural or synthetic colors mixed with ox gall.
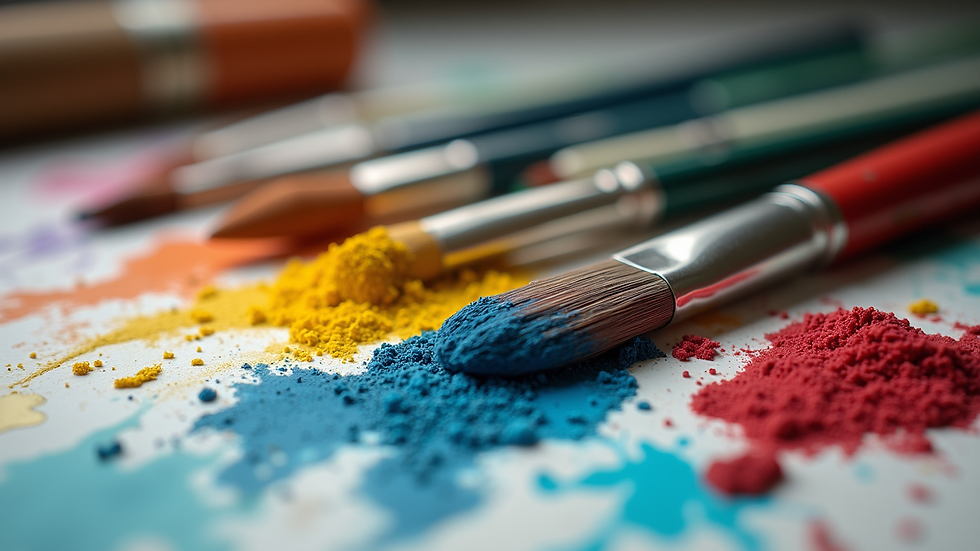
Brushes - Made from horsehair or synthetic fibers.
Combs and styluses - For creating patterns.
Paper - Absorbent and smooth, like watercolor paper.
Prepare the size by mixing the thickening agent with water and letting it rest until it thickens. Mix pigments with ox gall to help them float on the size. Use soft brushes to drop colors gently on the surface.
Keep your workspace clean and organized. This helps you focus on the art and avoid mistakes.
Step-by-Step Guide to Create Your First Ebru Design
Follow these steps to create a simple ebru design:
Prepare the size in your tray.
Mix pigments with ox gall.
Dip your brush into a pigment.
Gently tap the brush over the size to drop color.
Add more colors using different brushes.
Use a comb or stylus to create patterns by dragging through the colors.
Lay your paper carefully on the surface.
Lift the paper slowly to reveal the design.
Rinse and dry the paper flat.
Practice these steps several times. Each attempt will improve your control and creativity. Experiment with different color combinations and tools.
Tips to Improve Your Ebru Marbling Skills
Use fresh pigments for bright colors.
Keep the size at the right thickness - not too thin or thick.
Work in a draft-free room to avoid disturbing the water surface.
Clean your tools between colors to prevent mixing.
Practice steady hand movements for better patterns.
Try different papers to see which absorbs colors best.
Take notes on what works and what doesn’t.
If you want to deepen your knowledge, consider joining an ebru art techniques workshop. It offers structured learning and expert guidance.
Explore Your Creativity with Ebru Marbling
Ebru marbling is more than a craft. It is a way to express creativity and relax. Each design is unique and cannot be exactly repeated. This makes the art form special.
Try combining ebru with other art techniques like calligraphy or collage. Use your marbled papers for cards, book covers, or wall art. Share your work with others to inspire and connect.
Keep practicing and exploring. Mastering ebru marbling takes time but brings rewarding results.
Master ebru marbling step by step. Use the techniques and tips shared here. Join workshops to enhance your skills. Let your creativity flow on water and paper.
Comments